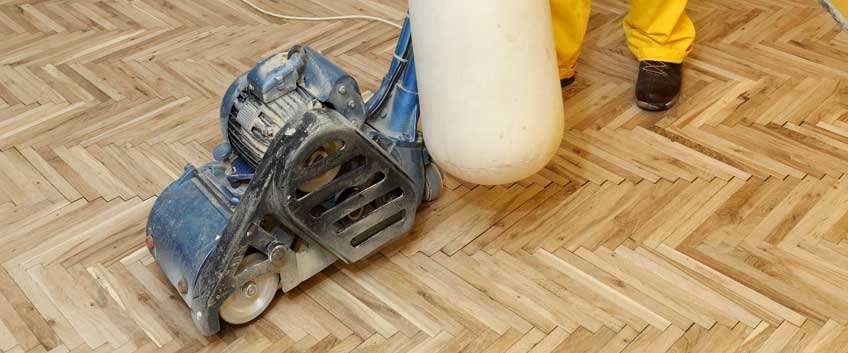
Re-sanding is an important process that guarantees a visual improvement in the condition of older and quite damaged and scratched solid and engineered wood floors. Most of the owners of real wood flooring are familiar with the benefits of this procedure and how highly recommended it is by professionals. During the sanding process, the top layer of the wood’s surface along with the old finish is removed and you are left with fresh, durable and beautiful wood to re-finish and enjoy. Sanding is possible to happen up to 5-6 times for solid wood timbers and up to 2-3 for engineered wood, because of that re-sanding is a service you have to consider now and then and when you feel that your floor needs an upgrade.
Sanding is a pretty self-explanatory process, however, it can go wrong, if you do not make sure that the right preparation is done beforehand. Lack of appropriate preparation, believe it or not, can leave your wooden floor permanently damaged like uneven construction and surface, damaged grain, flammable sanding dust lurking in the corners of your home and what not. Because of the risk of these and many other potential issues, preparation is the key to a smooth-running and successful re-sanding service.
First things first, start preparing the floor and the entire room for the sanding service by removing everything out of the room. Move out big and small furniture pieces, any decoration, art and all smaller objects and items, do not forget everything hanging from the falls or the ceiling. Although most of the modern sanding machines are made dustless and store the majority of the dust during the sanding process, they are not completely dust-free and because of that, the entire room must be as empty as possible.
Everything lying down on the floor and close to it will be a problem during the sanding process, so it is also highly recommended to temporarily remove any doors. Next thing, you have to thoroughly inspect the floor and look for any nails, staples and screws that may be raised and will destroy the sanding belt of the machines. Nail them down and continue. Cover all doorways, vents, windows and every place, where the sanding dust may escape from and enter the rest of the house. Cover all gaps with heavy tape and plastic sheets and do not forget the electrical outlets. Protect yourself, if you are going to DIY the project, you are going to need a protective dust mask, goggles, and earplugs.
Once you are done with all these, it is about time to plot your sanding path, making sure you are going with the grain and not against it, avoiding a path, where you can trip over the wires of the sender or the vacuum machine, placing all your equipment at easy to access anytime spots and in the same room, where you are sanding. All of these preparation recommendations will significantly make your whole job easier and smooth-running and the end results are amazing.